A gas water heater that works well is easy to ignore, until it suddenly stops heating. Most homeowners don’t realize that routine gas water heater maintenance can extend the unit’s lifespan by years, improve energy efficiency, and prevent costly repairs. Unlike electric water heaters, gas models have a few additional components that need monitoring, but the maintenance routine itself is straightforward enough for a confident DIYer. This guide walks you through the essential tasks in water heater maintenance, from flushing sediment to testing safety valves, so your system stays reliable and efficient.
Table of Contents
ToggleKey Takeaways
- Annual gas water heater maintenance can extend your unit’s lifespan by years, improve energy efficiency, and prevent costly $1,500+ replacement bills.
- Flushing sediment from your water heater tank is the cornerstone of maintenance and should be done at least once per year, or twice yearly in hard-water areas.
- Inspect and replace the anode rod every 3–5 years—this sacrificial metal component protects your tank from internal rust and is one of the easiest maintenance tasks to execute.
- Test your temperature and pressure relief valve annually by lifting its lever; the valve should flow hot water immediately and stop completely when released.
- Check your gas burner flame for steady blue color and inspect external venting for clogs, rust, or debris to prevent carbon monoxide hazards and maintain safe operation.
Why Regular Gas Water Heater Maintenance Matters
Gas water heaters accumulate mineral deposits and sediment over time, especially in areas with hard water. That sediment settles at the bottom of the tank, reducing heating efficiency and making the burner work harder than it should. Every extra degree of effort costs money in gas bills and cuts years off the heater’s lifespan.
A routine water heater maintenance schedule, typically annual or biannual, catches small issues before they become expensive. Pressure valves can stick, anode rods corrode completely, and venting systems can accumulate debris. When you address these during preventive maintenance, you’re looking at a straightforward afternoon of work instead of a weekend emergency and a $1,500 replacement bill.
Most manufacturers recommend comprehensive maintenance tasks for gas water heaters at least once per year. In hard-water regions or if you use the heater heavily, twice a year is smarter. The good news: none of these tasks require special tools or a contractor’s license.
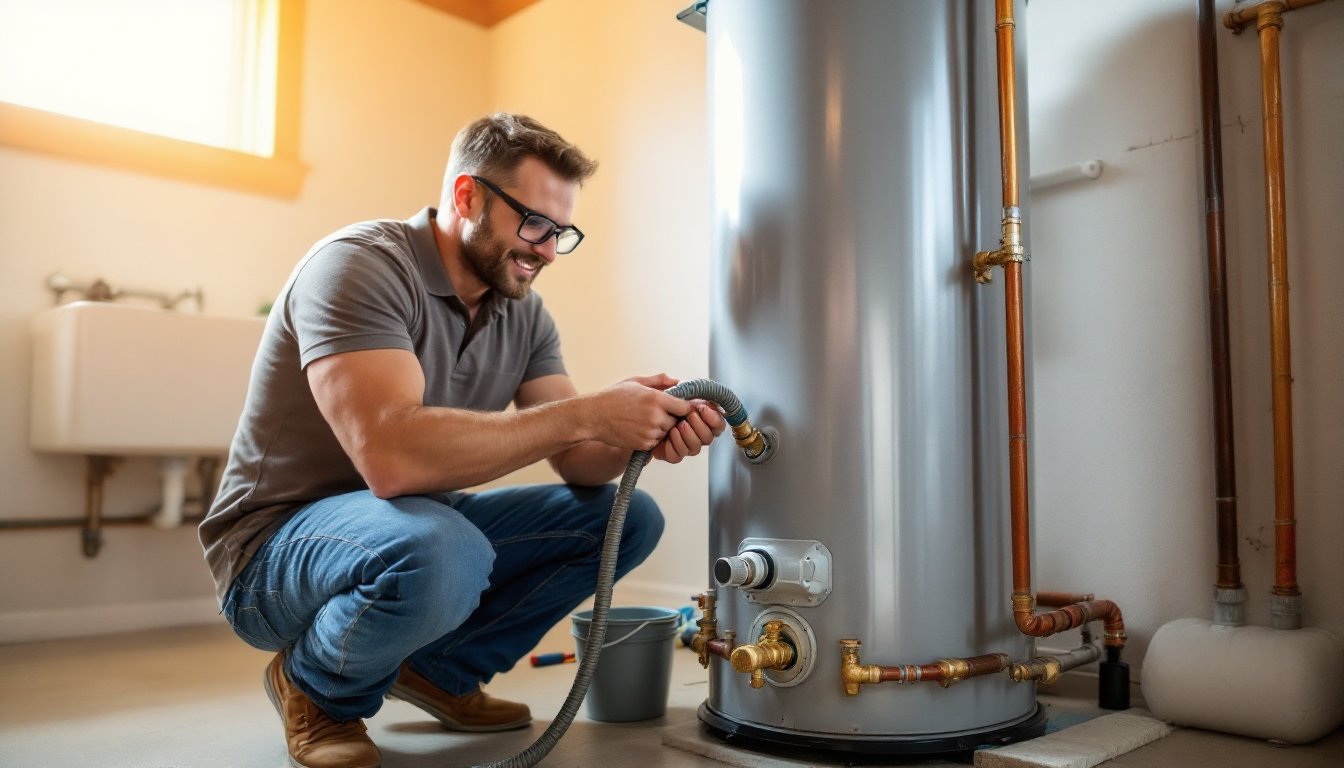
How to Flush Your Gas Water Heater Tank
Flushing removes the sediment buildup that reduces heating efficiency and creates strange noises. This is the cornerstone of water tank maintenance and should be part of your annual water heater maintenance schedule.
What you’ll need:
• Garden hose long enough to reach a floor drain or outside
• Flathead screwdriver
• Bucket (optional, for testing water clarity)
• Work gloves
• Eye protection
Safety first: Turn off the gas supply at the control knob and wait 30 minutes for the tank to cool slightly. If you have a pilot light, turn it off as well. Never work on a hot tank, you’ll burn yourself on the steel exterior.
Step-by-Step Flushing Process
-
Locate the drain valve at the bottom of the tank (usually a brass spigot). Attach your garden hose to it. Position the hose to drain safely into a floor drain, utility sink, or outdoors, the water may be hot and carry sediment.
-
Open the drain valve slowly by turning the flathead screwdriver counterclockwise. Water will flow out: let it run for 5–10 minutes. The water near the end may still look cloudy with sediment, that’s normal.
-
Turn off the drain valve and disconnect the hose.
-
Turn the gas back on after the tank has cooled completely. Relight the pilot if your model has one, following the manufacturer’s instructions on the side panel.
For electric water heater maintenance, the process is identical except you’ll flip the electrical breaker instead of a gas knob. If your water heater preventive maintenance hasn’t included a flush in over two years, plan to do this at least twice, spacing flushes a few weeks apart. Heavily sediment-laden tanks need extra attention.
Inspecting and Replacing the Anode Rod
The anode rod is a sacrificial metal rod (usually magnesium or aluminum) inside the tank that corrodes instead of the steel tank itself. When the rod is spent, the tank starts rusting from the inside out, and that’s game over. This is critical maintenance for water heater systems.
What you’ll need:
• Socket wrench (typically 1 1/16-inch, but check your manual)
• New anode rod (match your heater’s model number)
• Hex key or Allen wrench (sometimes attached to the new rod)
To inspect or replace:
-
Turn off the gas and let the tank cool for at least 30 minutes.
-
Locate the anode rod access point, it’s typically a hex head bolt on the top of the tank or on the top-side fitting.
-
Use your socket wrench to loosen it. It may be stubborn: apply steady pressure and don’t jerk it.
-
Once loosened, unscrew it by hand and pull it straight up and out.
-
If it’s heavily eroded (crumbly, thin, or reduced to a sliver), replacement is due. If it still looks solid with only light white coating, you’re good for another year or two.
-
To install the new rod, insert it into the opening and hand-tighten, then use the wrench for a final quarter-turn. Don’t overtighten, the fitting is brass and can crack.
Replacing the anode rod is one of the easiest hot water heater maintenance tips to execute and pays dividends. Most units need a new rod every 3–5 years, depending on water hardness and usage. Plan this as part of your annual water heater preventive maintenance routine.
Testing Your Temperature and Pressure Relief Valve
The temperature and pressure (T&P) relief valve is a safety device that prevents dangerous pressure buildup inside the tank. If it fails silently, you won’t know until the tank ruptures, a genuinely hazardous situation. Testing it once a year takes two minutes.
What you’ll need:
• A bucket or shallow pan
• Work gloves (the water coming out will be very hot)
To test the valve:
-
Place your bucket or pan underneath the discharge pipe that exits the T&P valve (usually a small tube running down the side of the tank).
-
Gently lift the lever on the T&P valve. Hot water should flow immediately and consistently into the bucket.
-
Release the lever. The valve should snap back and stop the flow. If water continues trickling out or doesn’t flow at all, the valve is stuck and needs replacement.
-
If the valve is sticking, try lifting and releasing the lever a few more times to clear any mineral deposits. If it still doesn’t respond, order a replacement valve matching your tank’s specifications.
This simple test is a cornerstone of maintenance for water heater safety. Home maintenance guides emphasize checking the T&P valve as part of seasonal water heater care because it’s one of the few components that can fail invisibly until a catastrophic moment.
Checking Gas Burner Performance and Venting
The gas burner ignites to heat the water, and the venting system safely expels combustion gases outside. Both need annual inspection as part of your gas water heater maintenance.
Burner check:
Look at the flame through the sight glass (if your model has one) while the heater is running. The flame should be a steady blue color. A yellow or orange flame signals incomplete combustion, often caused by a dirty burner or restricted air intake. If you see discoloration, turn off the heater and let a professional inspect it, this isn’t a DIY fix due to gas safety.
Listen for unusual noises. A rumbling or popping sound usually means sediment has accumulated on the burner surface, reducing efficiency. A flush (described above) often resolves this.
Venting check:
Walk around the exterior vent where your heater exhausts. The vent opening should be clear of leaves, nests, or debris. A clogged vent can back carbon monoxide into your home, a serious hazard. Clear any blockages and ensure the vent isn’t rusted or sagging.
Inspect the vent pipe inside the home near the tank. Look for loose joints, corrosion, or separation. Water heater maintenance guides stress that venting issues are often overlooked but critical. Tighten any loose bands or straps with a screwdriver: don’t rely on tape or sealant alone.
If the vent is rusted through or severely corroded, replacement is necessary, call a professional. For electric water heater maintenance, venting doesn’t apply, so skip this step on those units.
Conclusion
A simple water heater maintenance schedule, flush annually, check the anode rod, test the T&P valve, and inspect venting, keeps your system reliable and efficient for years longer. Most of these tasks take under an hour and cost almost nothing beyond a replacement anode rod every few years. Ignore maintenance, and you’re gambling with a sudden failure and a $1,500+ replacement bill. Stay proactive, and your gas water heater will reward you with consistent hot water and lower energy bills.